1. File Format Compatibility:
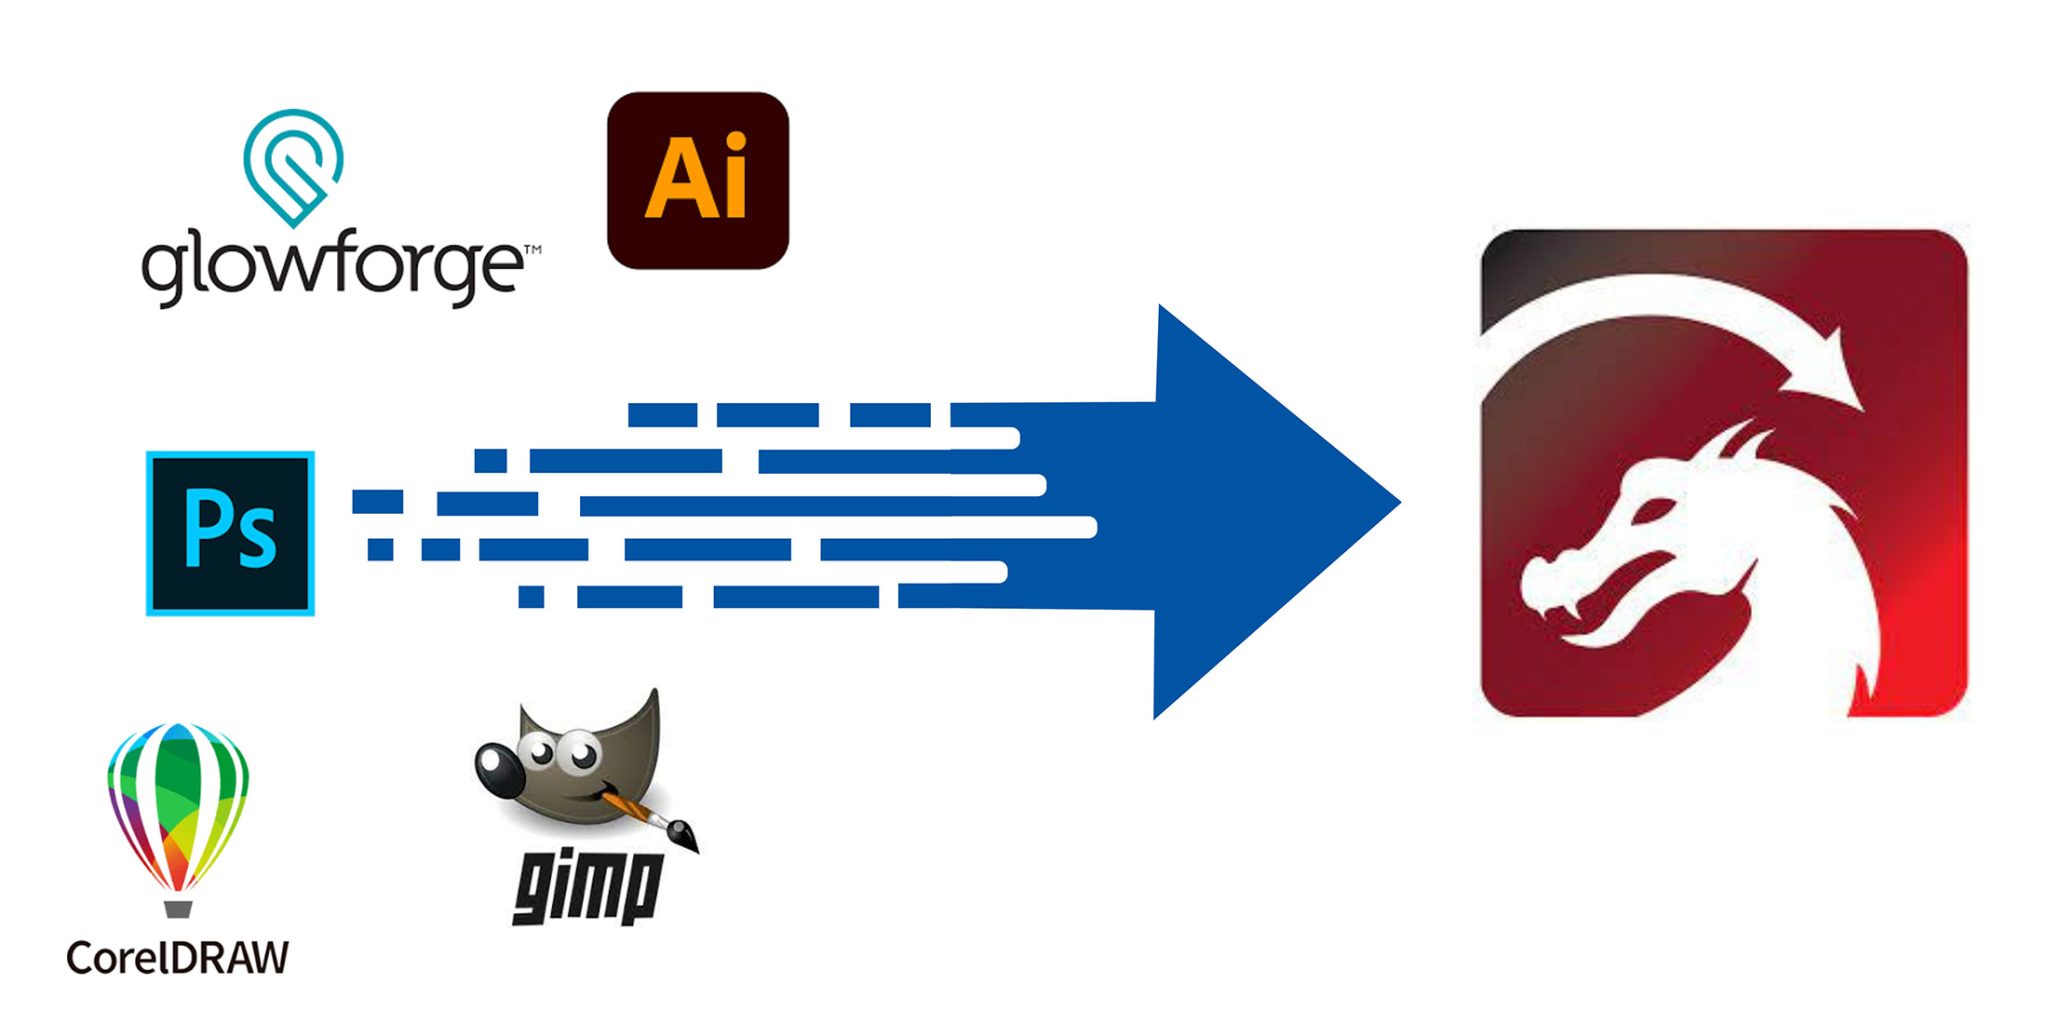
Nearly all design software programs use file formats are supported by LightBurn.
Ensure that the file you’re importing is in a format LightBurn recognizes: SVG, DXF, AI, PDF, BMP, JPG, PNG, and a few others. If not, consider using a design software to convert your file into one of the supported formats.
2. Scaling Discrepancies:
Issue: Designs might appear either larger or smaller in LightBurn compared to the original software.
In LightBurn, you can adjust the image settings like dithering to improve the final appearance. If you import into older RDWorks , scaling is can be a major issue, but Lightburn rarely has this issue.
Regardless, you should always check to see if the measurements of your project are accurate ie: always double-check the units (e.g., inches vs. millimetres) in both the exporting and importing software. If you’re working with image files, ensure the DPI (dots per inch) setting matches the original design’s resolution.
3. Missing Elements or Details:
Issue: Some design details or elements might not appear after importing.
This is common with complex vector files. When exporting your designs, especially from software like Illustrator or Corel Draw, it can help to “flatten” or “merge” layers. It’s also beneficial to convert text elements to paths or outlines to ensure they’re recognized.
4. Color Differences:
Issue: The colors in the imported design may differ from the original.
LightBurn may interpret color values differently from the source software. If color is crucial for differentiation (like for setting different laser passes), manually adjust them in LightBurn or use a limited and standard palette in your design software that’s consistent with LightBurn’s interpretation.
5. Raster Image Quality Loss:
Issue: Bitmap images (like JPG or PNG) may lose quality during import, and appear pixelated.
Always work with the highest resolution possible when designing. When exporting from software like Photoshop or GIMP, ensure you choose high DPI values.
6. File Doesn’t Import At All:
Issue: Sometimes, the file might not import into LightBurn, showing an error or nothing at all.
This could be due to corruption or an unsupported feature within the file. Try opening the design in its original software, ensure it’s correctly formatted, and re-export. If that doesn’t work, consider saving it in a different supported format.
7. Text Issues:
Issue: Text might appear jumbled, misaligned, or replaced by other characters.
Most software, including LightBurn, might not have access to all fonts. Before exporting your design, convert all text to curves, paths, or outlines. This turns the text into a graphic element, ensuring consistency across platforms.
8. Layer Conflicts:
Issue: Designs with multiple layers might not align correctly in LightBurn.
When exporting multi-layer designs, ensure that each layer is correctly positioned and locked in place. In some cases, you might need to import layers separately and then align them in LightBurn. Utilize LightBurn’s layer tools for correct positioning.
9. Unsupported Features or Effects:
Issue: Some design effects like gradients, shadows, or certain patterns might not appear in LightBurn.
LightBurn is primarily a laser cutting software, so some graphic effects won’t translate. It’s best to simplify your designs for laser cutting. If a particular effect is crucial, try to achieve it by using vector patterns or manual shading techniques suitable for engraving.
If you encounter any issues with transferring files between other programs and Lightburn, try these resources:
-Lightburn Users Forum
-Thunder Laser Owners User Group
A final note:
Regularly updating your LightBurn software can also alleviate some compatibility concerns, as updates often come with bug fixes and enhanced features. As with any craft, practice and experience will make the process smoother over time. As mentioned above the updates are $40 and may be worthwhile every few years.
.png "laser cutter Globle") International
International
 United States
 Brasil
 Canada
 Česká
Česká
 Ελλάδα
 Polska
 Ireland
 Portugal
 Lietuva
 Россия
 Deutschland
 Britain
 Україна
 France
 Sverige
 한국
한국
 中国
中国
 ประเทศไทย
 香港
香港
 Israel
 臺灣
臺灣
 India
India
 Australia
 New Zealand
 South Africa