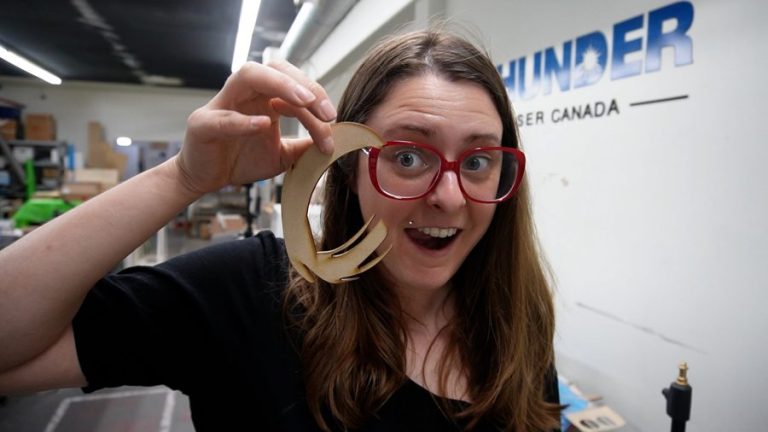
My name is Zee Kesler and I’m going to walk you through how I created custom wood signage for my YouTube channel Curio Cabin as one of my first projects on a Thunder Laser.
Drag the original image away from the traced image and delete the original.
Highlight the entire traced image by clicking and dragging to the left. If you click and drag a selection area left, the highlight box should turn green. This means every object the selection box touches will be selected. (Video: about green and red selections)
While everything is selected, right-click and select “Ungroup”.
Go through and delete parts of the traced image you do not want to laser cut or engrave.
In my project, I cleaned up the small holes in the brush script and deleted any holes that were too small to ‘poke out’ once the letters were cut.
Before you cut your entire project at full scale, do some mini tests. Do this by selecting your entire image and adjusting the size of your image. (You can use inches or milimeters) and move it where you want it to be on the laser bed. I tested on both mdf and plywood.
Write your settings on each mini test you create for each material.
Now that I know my settings, I am ready to cut my actually letters! In order to use as much of the material as possible, I am going to copy and paste each letter onto a new layer. I will click off the “Output” slider for the layers I don’t want to cut, and those won’t be sent to the laser.
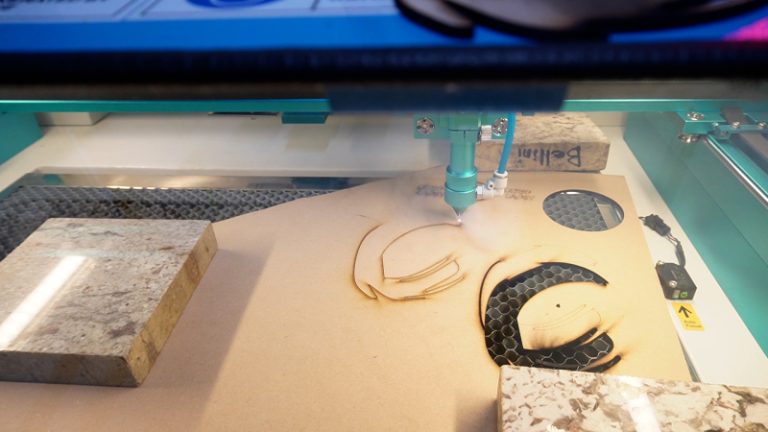
Next I sent the project to the laser and framed my cut area.
Not shown-focus your laser if it isn’t focused already. (Watch: How to manually focus your Thunder Laser)
I used some stone blocks to hold down my mdf, since it was a bit bowed. I set my origin and framed the area before I added the blocks to ensure the laser head wouldn’t hit the blocks. (This would be very bad!)
Next I cut the letters by pressing start.
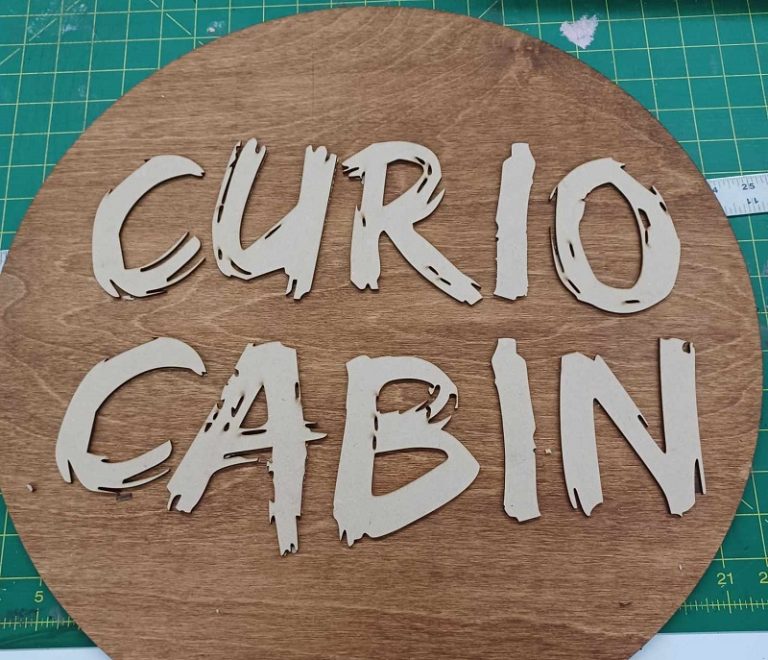
I popped the letter out of my mdf sheet as well as the small holes which are a features of my brush script. I used a flathead screwdriver to pop out the thin narrow pieces.
I repeated the same process of copying and pasting each letter onto a new layer. Once again, I ensured the other layers has the ‘output’ toggle switched off and the layer with the letter I want to cut is toggled on. Before I cut, I moved my mdf around and framed the area to cut the letters as close to one another as possible.
Once all my letters were cut, I lightly sanded any edges that needed it. (This was needed in the holes and tight curves especially)
Once all my letters were cut, I then cut my plywood circle.
Next I painted my circle and my letters with acrylic paint. I also painted the sides of my letters to hide the burn marks on the edges.
When my circle was cut, I glued my letters on the circle background.
I didn’t show this part, but I made a last minute decision to add lights on the back of my sign. To do this, I cut another circle of plywood on the back which was slightly smaller than my other circle. I then added a small rectangle on the bottom(for my light controller) and a small circle at the top (for hanging from a screw).
I used led strip lighting made by NLiten and downloaded the Bektonix app to control the pattern and color of the lights.
TBA: need to buy a usb connector for the lights! I will update you when I get it!
Stay Tuned!
I love maximalist design and decor and I am super excited about using a laser cutter to create custom projects for my home but also for packaging for my wool business Magic Trout Imaginarium. Subscribe to watch tutorials and educational content to learn how to use your Thunder Laser machine to it’s fullest potential!

.png "laser cutter Globle") International
International
 United States
 Brasil
 Canada
 Česká
Česká
 Ελλάδα
 Polska
 Ireland
 Portugal
 Lietuva
 Россия
 Deutschland
 Britain
 Україна
 France
 Sverige
 한국
한국
 中国
中国
 ประเทศไทย
 香港
香港
 Israel
 臺灣
臺灣
 India
India
 Australia
 New Zealand
 South Africa