You get 30 days to LightBurn for free. You can install LightBurn and then create a mock Device for your future machine. This will allow you to explore Lightburn and its features in preparation for your machine.
More information can be found here:
You must create a mock device with either a non-working USB or Ethernet connection that can be edited in the future once you receive your machine. This mock setup will allow you to play around in Lightburn. Lightburn will prompt you to create the Device profile at startup.
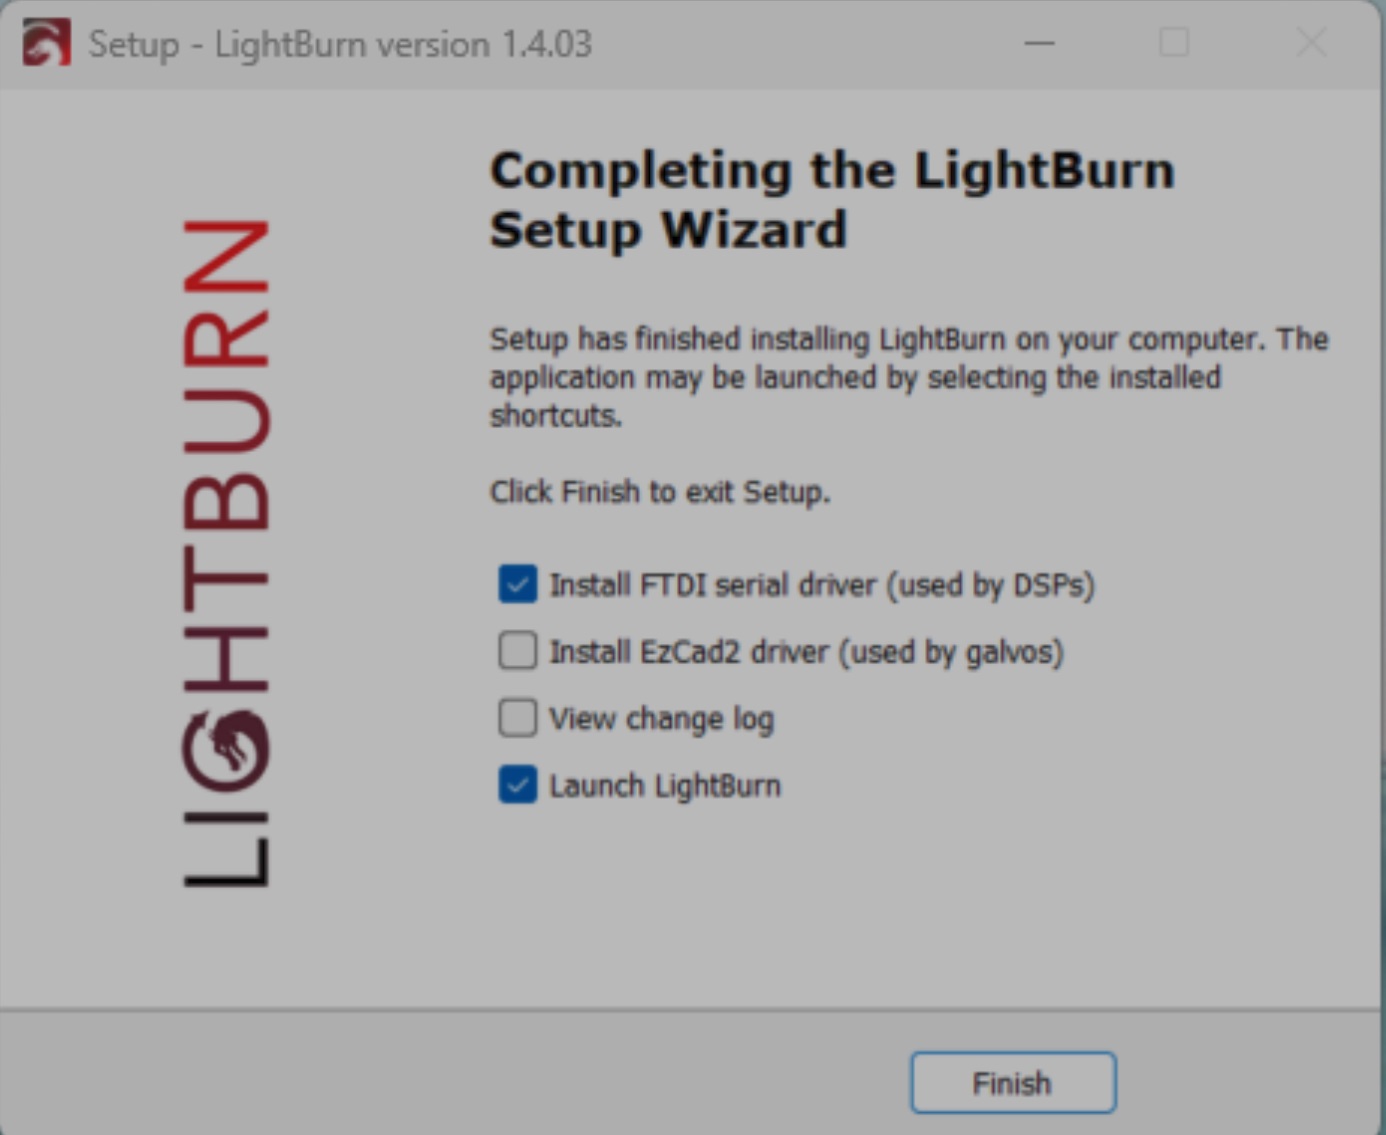
See note down below about the USB FTDI driver, you will need to install it during the initial Lightburn Install process.
Setup your Lightburn install with a Mock machine while your wait on your machine to be delivered:
You will receive your license key in an email from the Thunder Laser Canada sales team. Be sure to check your spam box.
We suggest using the trial up before activating your license. If you can’t find you Lighburn key, please email sales@thunderlaser.ca and we will get it to you asap.
Trial or License Activation – LightBurn Software Documentation
In Lightburn: Help>Check For Updates> Lightburn Bug Fixes> Lightburn Releases
Check for Trial License Remaining>(enter full license key from email here)
In Lightburn: Help> License Management>Lightburn Trial Status
If you cannot get Lightburn to say’ Ready’ instead of disconnected and to find your Ruida Controller, you will need to double check your USB or Ethernet Setup.
<
You can also try to right click on the “Devices” button in the Lightburn Laser Window to make Lightburn look for your machine.
If you have created multiple Devices, make sure you have the right one selected in the drop down selection next to the Devices button.
Not Connected: Connected:
Once Lightburn is communicating with the laser you can backup the machine settings
In Lightburn: Edit>Machine Setting. Let it read the machine settings and then save them to your ‘Thunder Lightburn” folder of choice.
Once Lightburn is communicating with the laser you perform this step. This is to help you get better time estimates so you can quote your jobs and manage your workflows better.
Improving Job Time Estimates In LightBurn’s Preview
Once Lightburn is communicating with the laser you perform this step. This is to help you get better time estimates so you can quote your jobs and manage your workflows better.
Do this before attempting to do any Fill layer engraves and make sure Lightburn is in millimitres(mm) when entering these values.
Otherwise you will get double prints. And be sure to Enable the offsets by clicking the slider to Green.
More information can be found here: About scanning offset adjustments
If you plan to use USB to connect to your Laser, be sure to follow the prompt at the end of the Lightburn installer to also install the FTDI driver which is required for Windows computers.
For MACs, you should update to the latest drivers, see the topic below for more on that.
More information can be found here:
Connecting A Thunder Laser To LightBurn Via USB
For MAC’s, if you plan to stick with USB, you will be required to update your FTDI driver else you could run into incomplete file transfer and communication issues.
More information can be found here:
New FTDI Driver Solves Mac USB Issues
If you decide to use Ethernet, you will need to follow the guides here in order to set it up to work. Each user’s ethernet config can be different based on your network setup, WIFI IP Addressing, adapters etc.
More information can be found here:
Windows: Connecting A Thunder Laser To LightBurn Via Ethernet
To learn more about LightBurn setup for the Aurora Lite and Aurora 8 (Standard, MOPA, and UV models) Read more here
If you have an Aurora 8 PRO or MOPA Pro, you will need to refer to your User Manual for installation of EzCad Software
.png "laser cutter Globle") International
International
 United States
 Brasil
 Canada
 Česká
Česká
 Ελλάδα
 Polska
 Ireland
 Portugal
 Lietuva
 Россия
 Deutschland
 Britain
 Україна
 France
 Sverige
 한국
한국
 中国
中国
 ประเทศไทย
 香港
香港
 Israel
 臺灣
臺灣
 India
India
 Australia
 New Zealand
 South Africa